Chat with Elastic Agent Builder agents
Agent Chat is the chat interface for natural language conversations with your agents.
The chat GUI and programmatic interfaces enable real-time communication where you can ask questions, request data analysis, and receive immediate responses from your configured agents.
The chat UI is available in both standalone and flyout modes. For more information, refer to Chat UI modes.
Refer to the getting started guide if you need to enable the feature and ingest some data.
Find Agents in the navigation menu to begin chatting. You can also search for Agent Builder in the global search bar.
This takes you to the chat GUI:
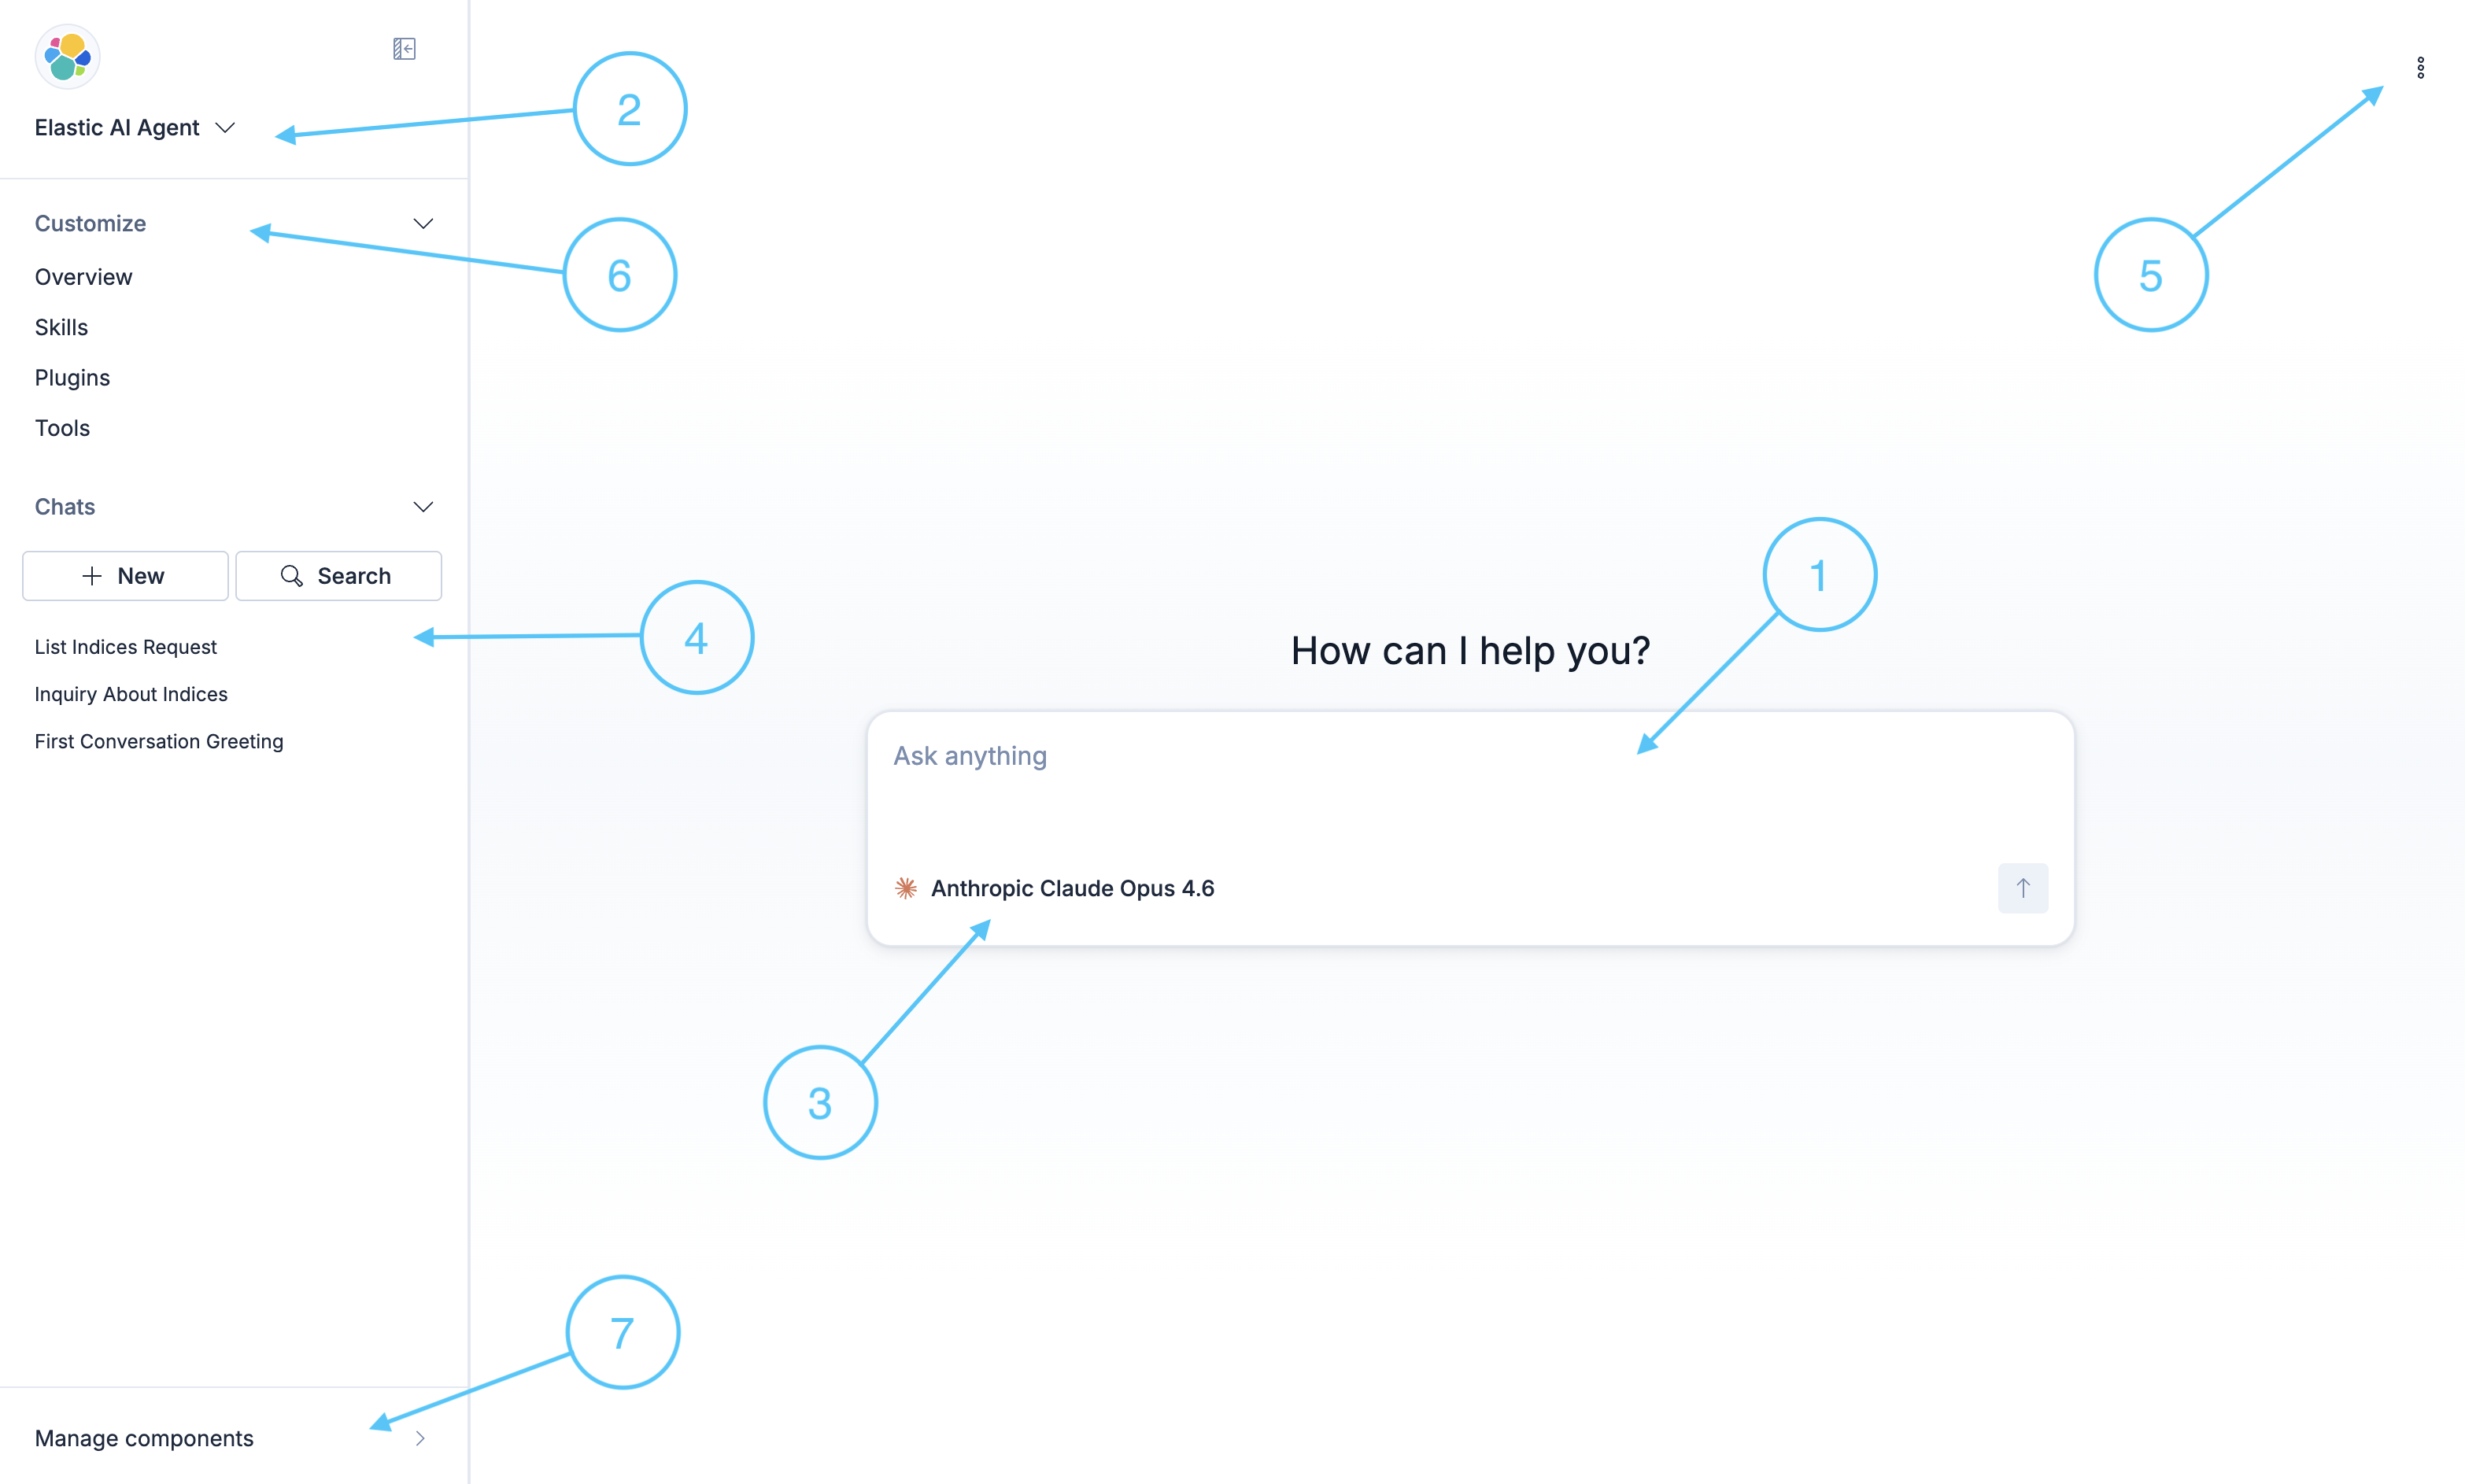
- Chat input area
- Agent selector
- Model selector
- Chats (conversation history)
- Options menu
- Customize accordion
- Manage components link
Use the text input area to chat with an agent in real time. Check the agent selector to see which agent is active. To switch agents, refer to Select a different agent.
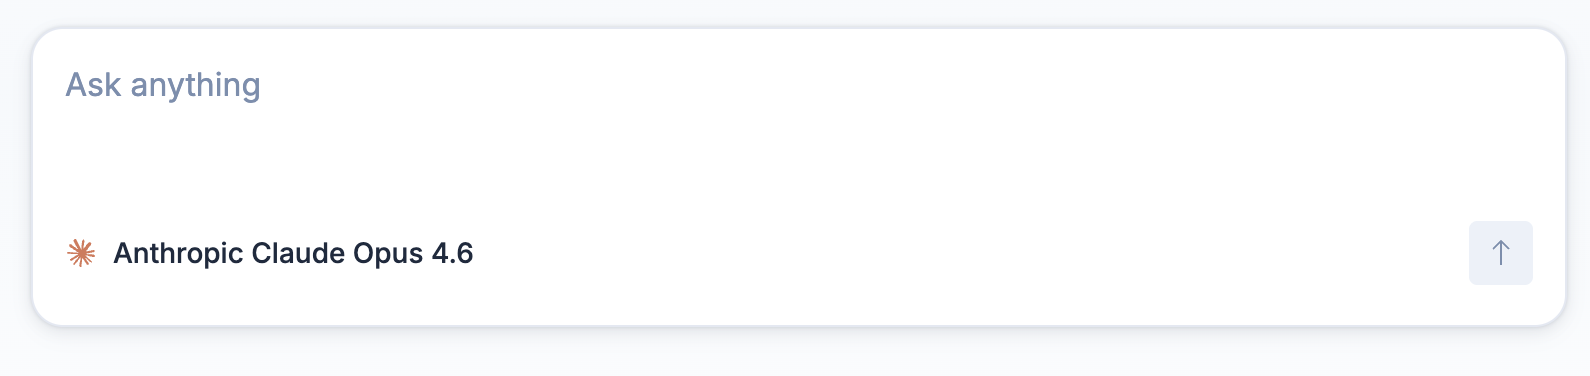
Conversations with agents consume tokens. To understand how usage is calculated, refer to Token usage in Elastic Agent Builder.
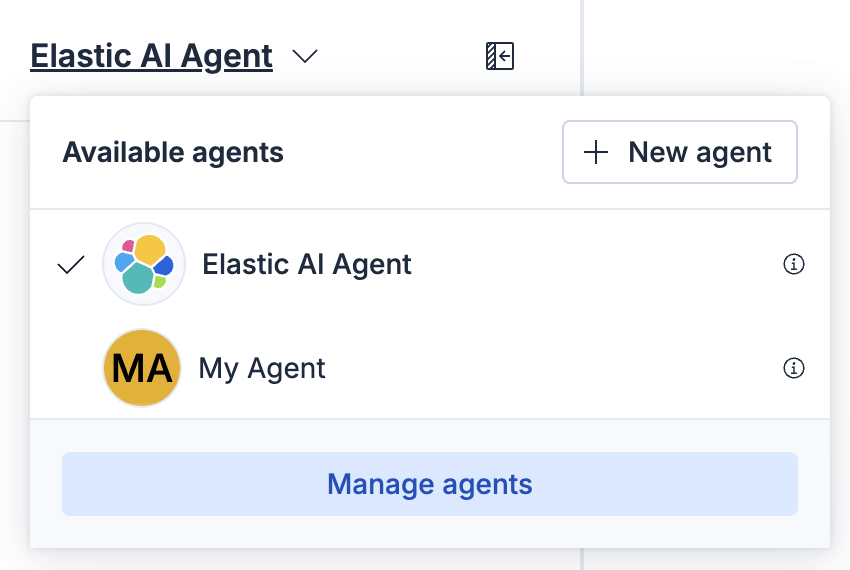
Use the agent selector to switch agents, to navigate to the agent management section, or to create a new agent. An agent's behavior is defined by its custom instructions and available tools. Switch agents when you need different capabilities for your tasks.
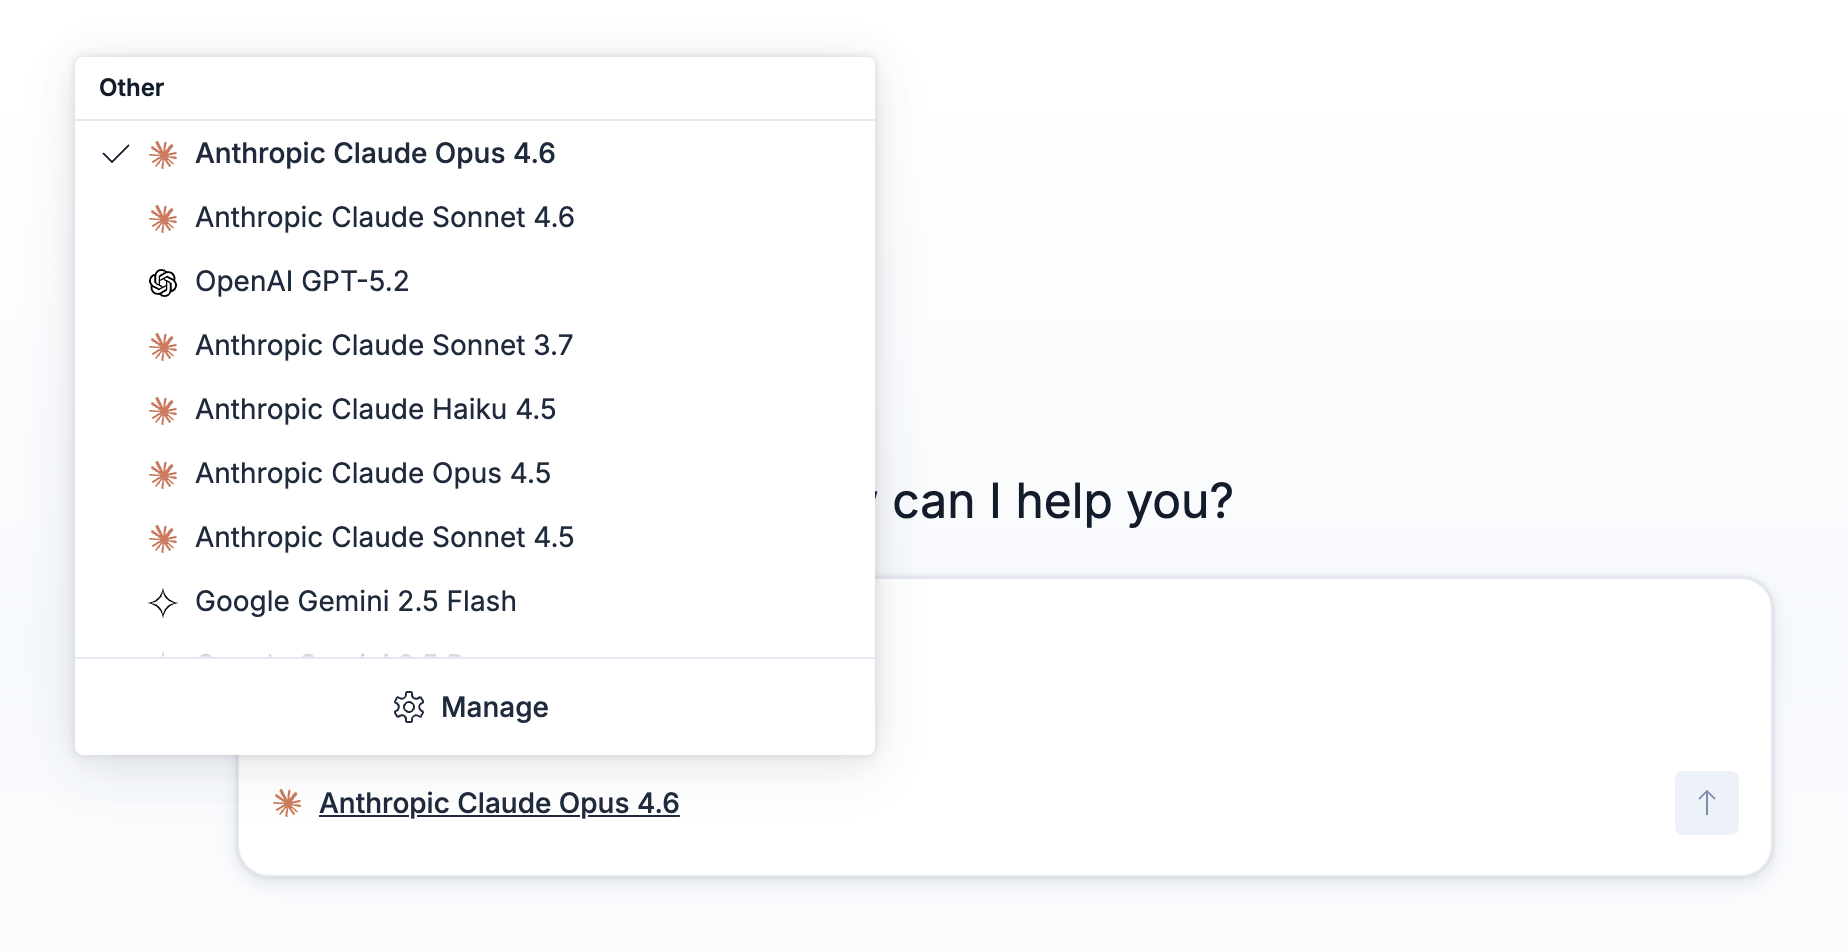
Use the model selector to switch the underlying model the agent uses to generate responses. Switch models to prioritize faster responses, lower costs, or more complex reasoning, depending on your use case.
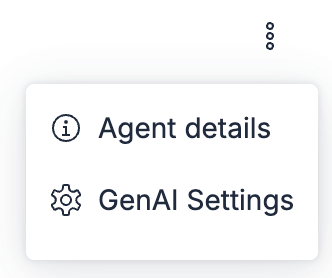
Click the three-dot menu icon in the top-right corner to access additional options.

The options menu provides access to:
- Agent details: View information about the currently selected agent.
- GenAI Settings: Open the global GenAI settings page to configure default connectors and other AI settings. Refer to Manage access to AI features.
To manage agents and tools, use the Manage components link at the bottom of the left sidebar, or the Customize accordion to configure the current agent.
This menu provides links to key actions and management pages, including agent management, tool management, agent editing, and duplication.
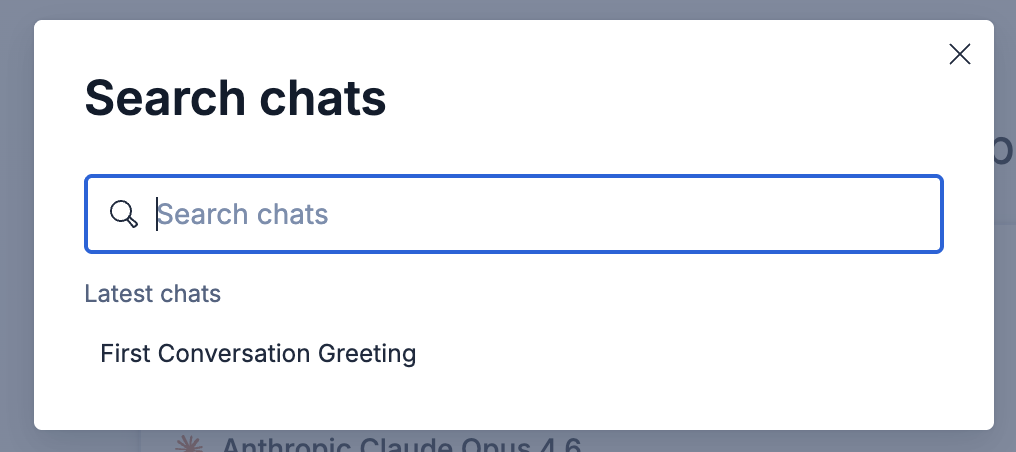
Use the chat history panel to access previous conversations.
The chat history panel shows the status of each conversation at a glance, so you can keep track of what your agents are doing across conversations:
| Icon | Status | Meaning |
|---|---|---|
 |
In progress | The agent is generating a response. |
 |
Awaiting your input | The agent paused and needs you to respond before it can continue, for example to answer a human-in-the-loop prompt. |
 |
Unread | The agent finished responding in a conversation you weren't viewing. |
 |
Error | The agent stopped because of an error. |
For example, the following chat history panel shows one conversation in progress and another with unread activity:
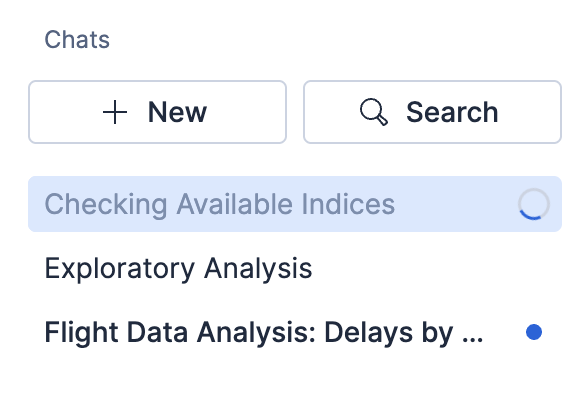
Conversations run independently, so you can work in several at the same time: start an agent in one conversation, switch to another while the first keeps working, and come back later without interrupting either one. New conversations appear in the panel as soon as you start them, before the agent finishes its first response.
Expand the Reasoning section to see how the agent handles your request. This provides a detailed breakdown of the agent's reasoning steps, the tool calls it makes, and the responses it receives. The agent runs tools in a loop until it achieves its goal or exceeds the maximum conversation length.
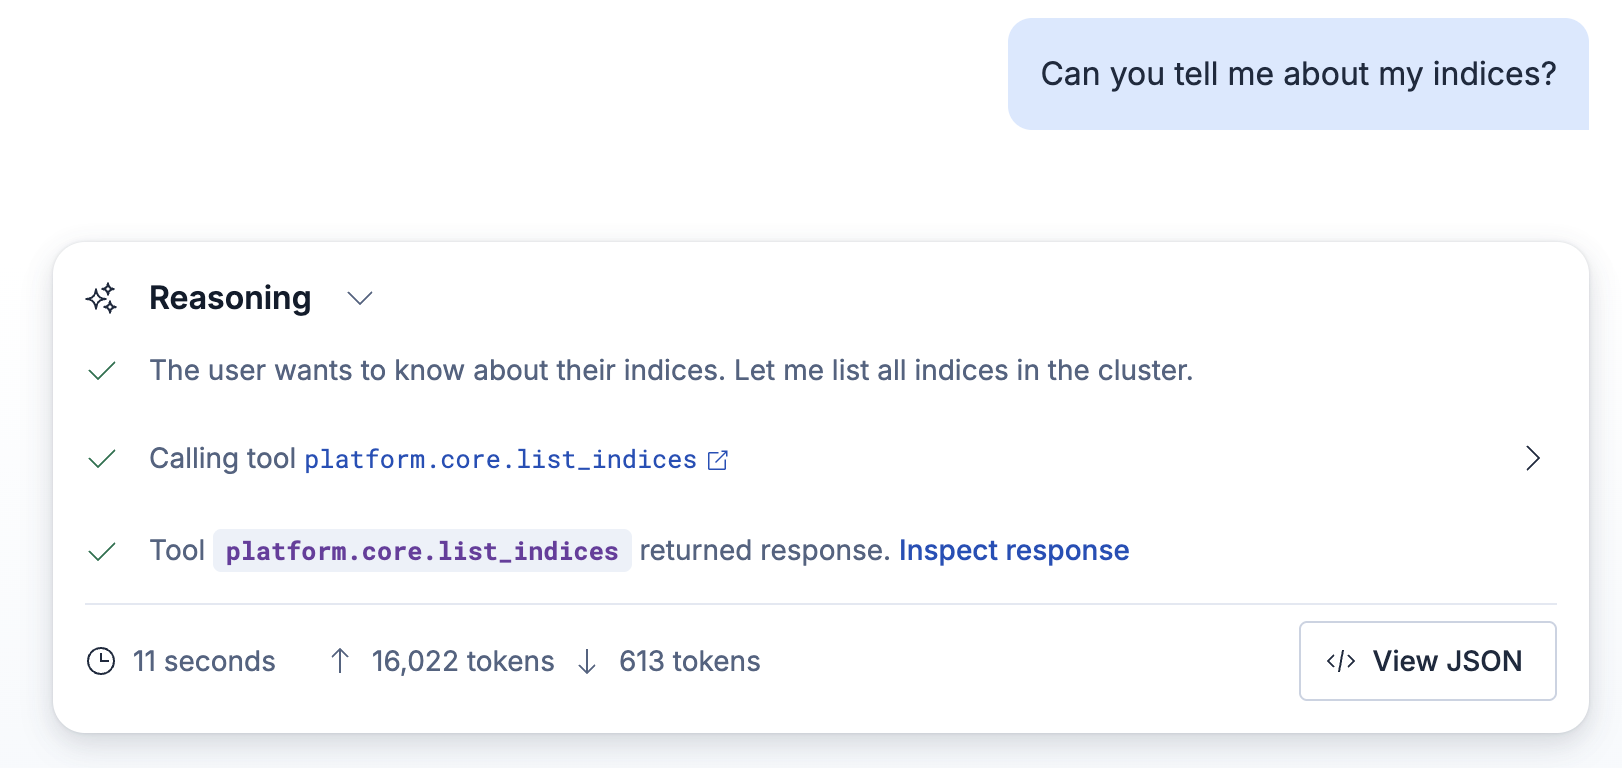
Select Inspect response to view detailed information about individual tool calls and responses.
Select View JSON to view the full raw response data. For more information, refer to Monitor token usage.
At certain points an agent pauses and hands control back to you before it continues. This pattern is known as human-in-the-loop (HITL). While a conversation is paused this way, it shows an Awaiting your input status in the chat history panel.
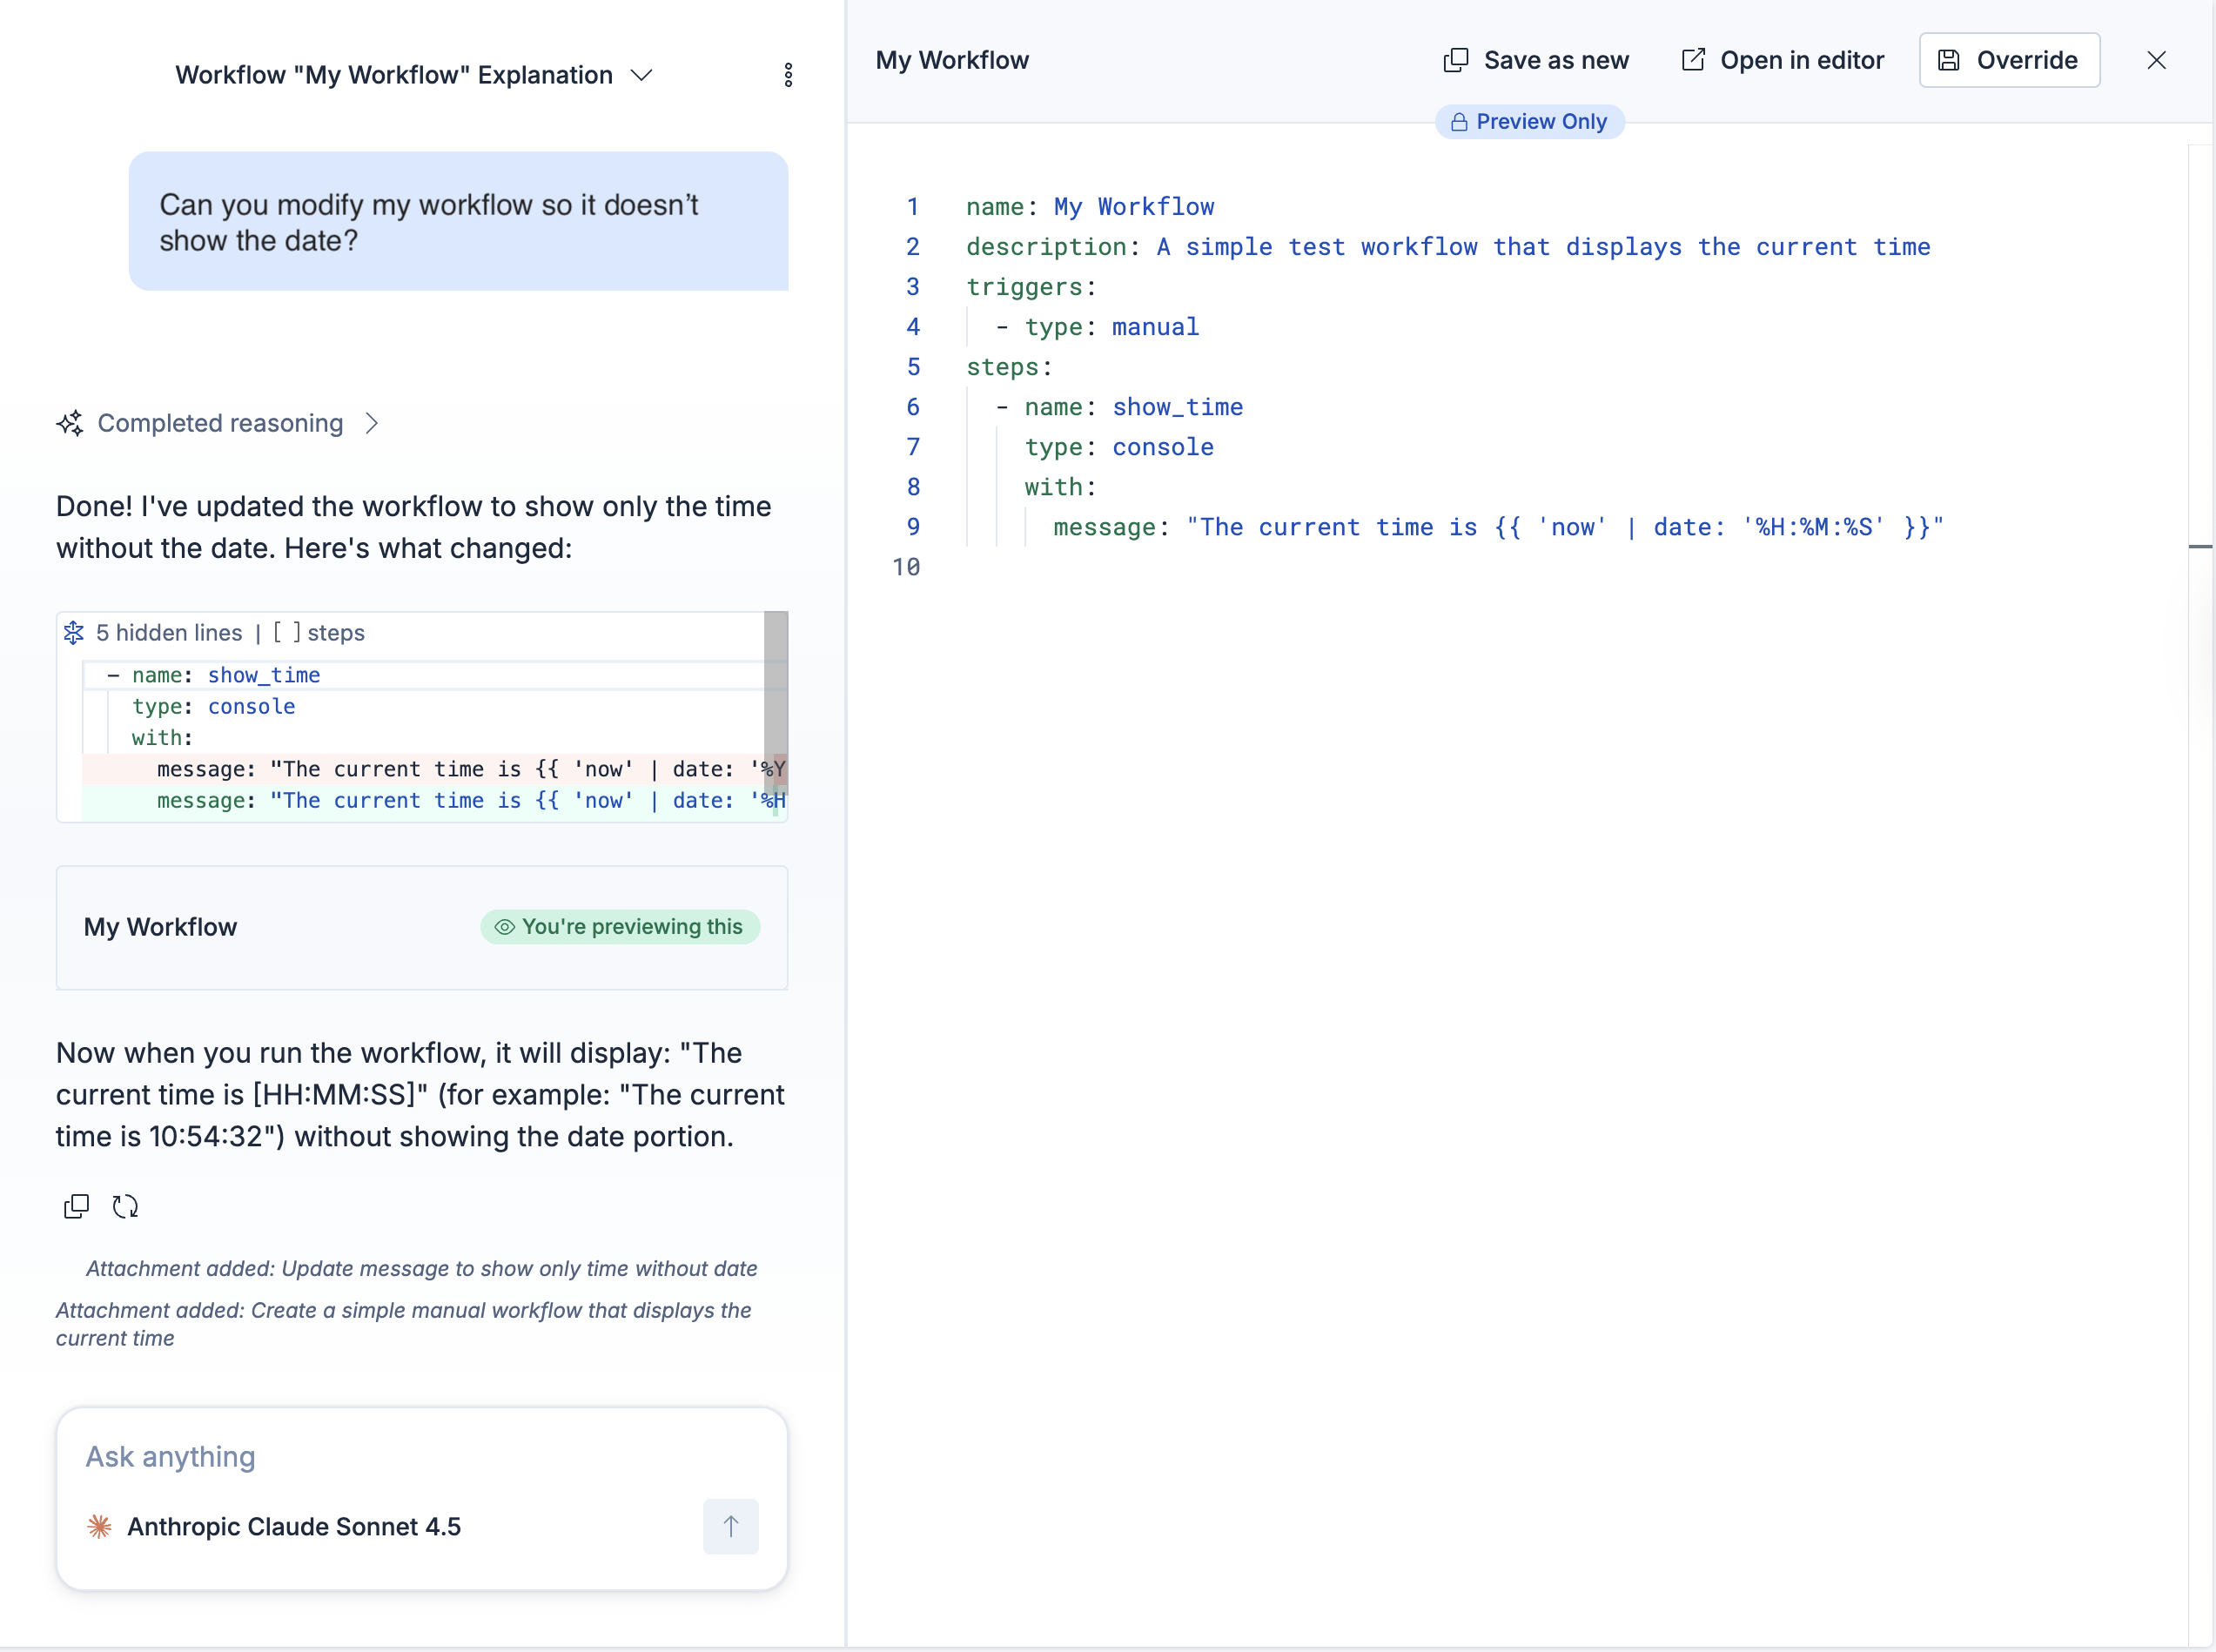
You control every write operation an agent performs. Whenever an agent proposes to create, update, or delete a resource, the chat pauses and presents a preview before anything takes effect. The preview format and available actions depend on the skill the agent is using. Review the preview, then confirm it to apply the change or dismiss it to discard it. Nothing is applied until you respond.
For example, when an agent updates a workflow, it shows the proposed change as a diff and waits for you to review it before applying:
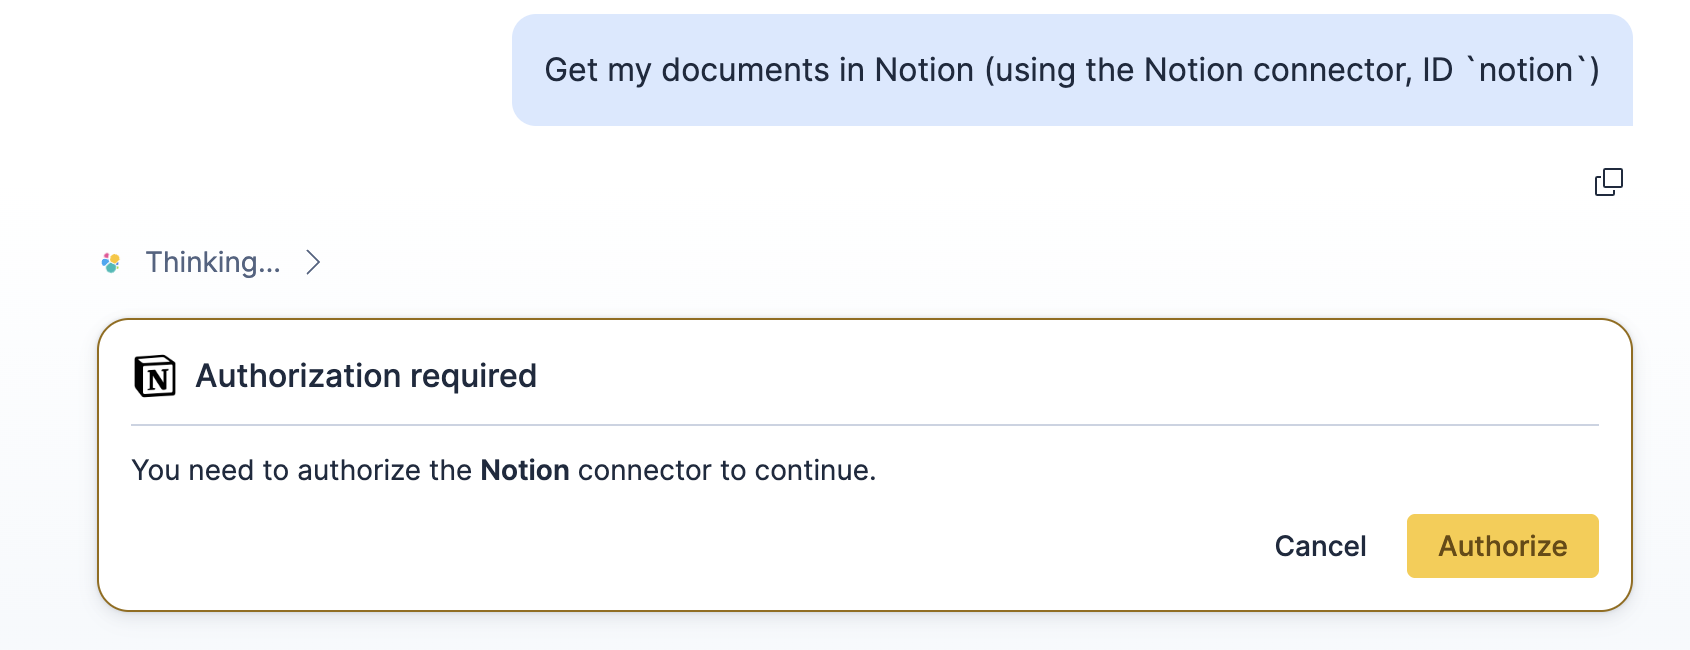
When an agent uses a connector to reach an external service that requires authorization, the chat pauses so you can grant access. Select Authorize to complete the sign-in flow for the connector, or Deny to decline. After you authorize, the agent retries the tool call and continues.
For example, an agent that needs to read your Notion workspace pauses until you authorize the connector:
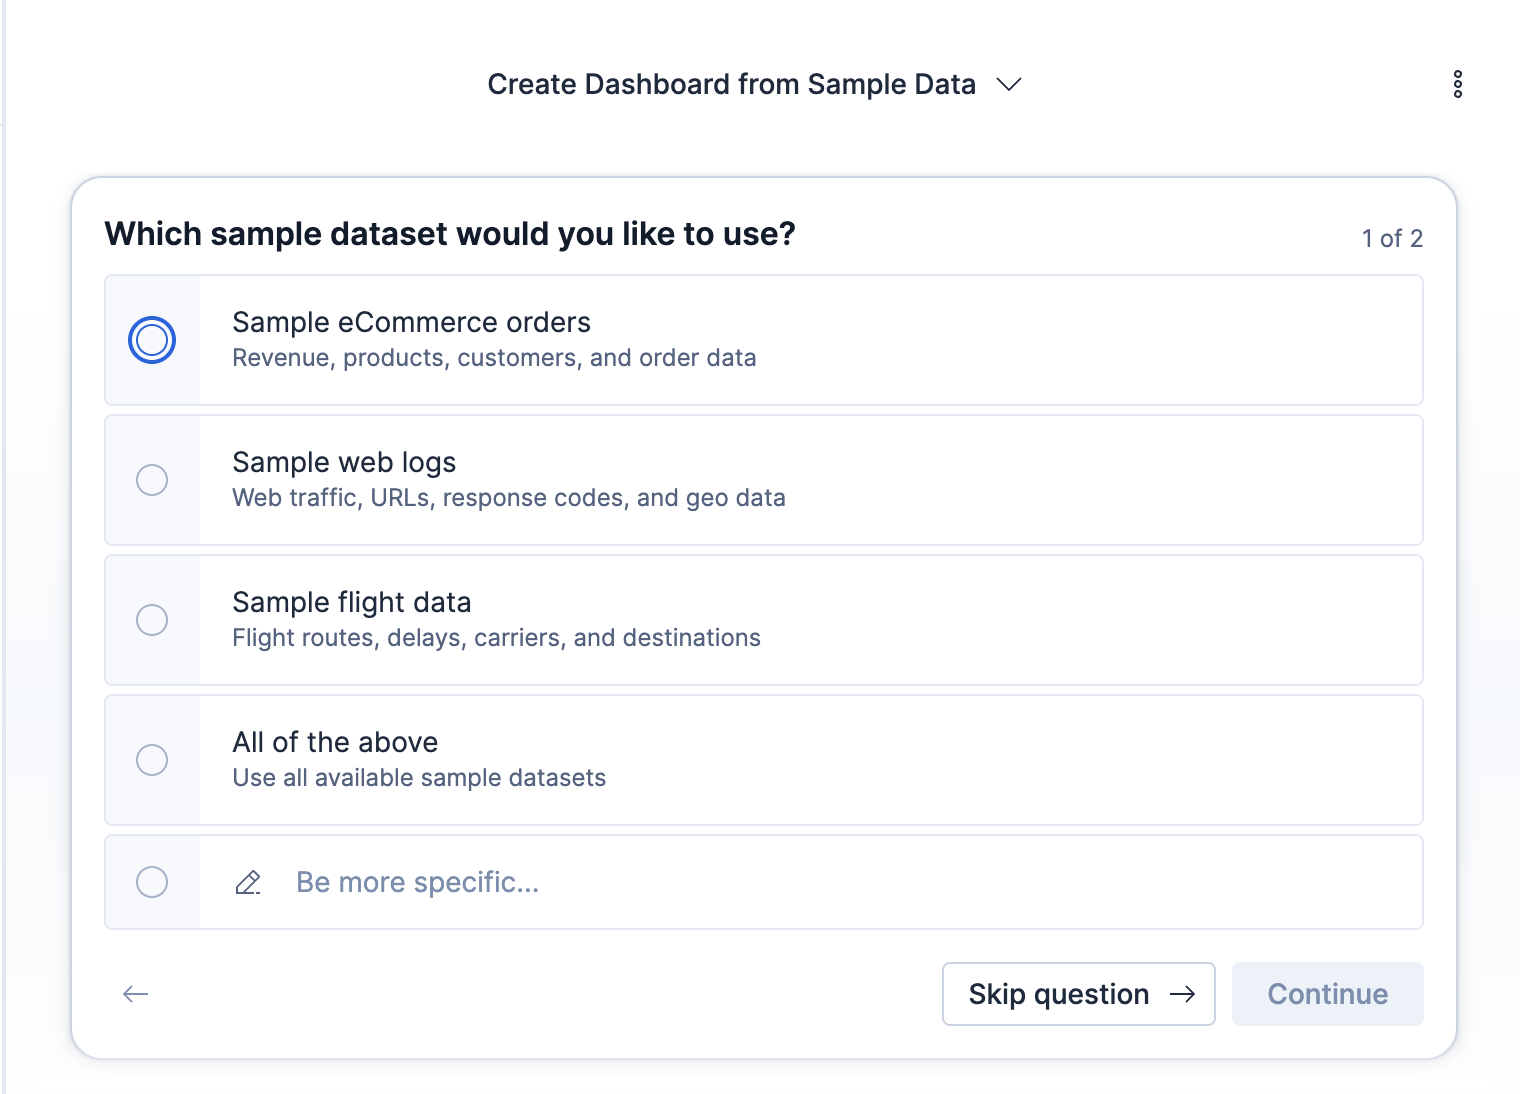
When your request is ambiguous, an agent can pause and ask you up to five multiple-choice questions instead of guessing. For each question, select one of the options, or choose the custom option and type your own answer. Some questions let you select more than one option. To move on without answering, select Skip question.
When there's more than one question, use Back and Continue to move between them, then select Submit on the last question. After you respond, the agent resumes. The agent's questions and your answers stay in the conversation, so you can revisit what was asked and how you responded.
For example, before creating a dashboard the agent might ask which sample data set to use:
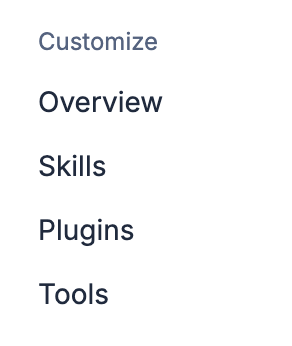
The Customize accordion in the left sidebar provides agent-scoped configuration for the currently selected agent. Expand it to access the following pages:
- Overview
- Displays a summary of the selected agent, including the total count of assigned skills and tools. Use the quick links to edit the agent's instructions or settings.
- Skills
- Lists the skills assigned to the current agent. Click a skill to open a read-only detail panel on the right side. To assign new skills, click Add skill. To view and manage all skills across the deployment, click Manage all skills. Skills you import into the library must be turned on with their toggle in this list before the agent can use them. For how skills work and how to manage them, refer to Skills in Elastic Agent Builder.
- Plugins
- Lists the plugins assigned to the current agent. Each plugin bundles a set of related skills that install together. To assign a plugin, click Add plugins. To view and manage all plugins, click Manage all plugins.
The Plugins option is hidden until you turn on the agentBuilder:experimentalFeatures advanced setting in Kibana.
- Tools
- Lists the tools assigned to the current agent. Click a tool to open a read-only detail panel. To assign new tools, click Add tool. To view and manage all tools, click Manage all tools.
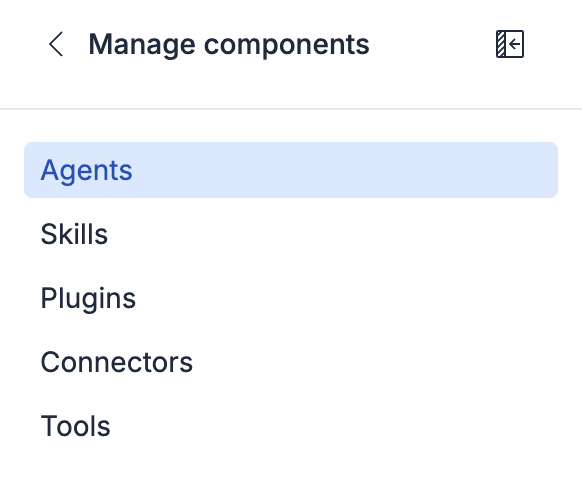
The Manage components link at the bottom of the left sidebar exits the single-agent view. It provides an overview of all agents, skills, plugins, connectors, and tools available across the deployment.
- Agents
- View all agents in the deployment. The list displays each agent's name, visibility badge (Public, Shared, or Read-only), and any custom labels. From this page, you can create new agents, edit existing ones, or start a chat.
- Skills
- View and manage all skills available in the deployment. Create new skills or edit existing ones.
- Plugins
- View and install plugins across the deployment. Install a plugin from a URL or by uploading a ZIP file. Each plugin bundles related skills that you can assign to agents.
The Plugins option is hidden until you turn on the agentBuilder:experimentalFeatures advanced setting in Kibana.
- Connectors
- View and manage the agent builder connectors library, which gives agents access to external data sources and systems.
The Connectors option is hidden until you turn on the agentBuilder:experimentalFeatures advanced setting in Kibana.
- Tools
- View and manage all tools. The global Tools page includes a search bar, Labels filter, Manage MCP dropdown, Manage agents link, and + New tool button.
You can also reach the global agents list from the Manage agents button in the agent selector dropdown.
Agents can create and manage dashboards and visualizations directly in the conversation. To learn more, refer to Dashboards and visualizations in chat.
The Agent Chat API provides programmatic access to chat functionality through REST endpoints.
For a quick overview of the REST API for conversations, refer to Chat and conversations API.
For the complete API reference, refer to the Kibana API reference.