Diagnose corrupted repositories
Elasticsearch only supports one cluster having one write connection to a repository at a time. If Elasticsearch detects a corrupted repository, this might indicate one of the following things:
- Multiple Elasticsearch clusters are writing to the same snapshot repository.
- The current Elasticsearch cluster has multiple write connections to the same snapshot repository.
- An external service modified the snapshot repository's contents or underlying storage.
You can check for this issue before errors are detected by looking for duplicate uuid values in the list snapshot repositories API output. After errors are detected, snapshot APIs return the following error:
Could not read repository data because the contents of the repository do not match its expected state. This is likely the result of either concurrently modifying the contents of the repository by a process other than this cluster or an issue with the repository's underlying storage. The repository has been disabled to prevent corrupting its contents. To re-enable it and continue using it please remove the repository from the cluster and add it again to make the cluster recover the known state of the repository from its physical contents.
This repository error might also surface in the index lifecycle management explain API, Allocation explain API and Kibana Stack Management UI.
Elasticsearch log stack traces can surface more information. One of the following errors might appear in stack traces:
org.elasticsearch.ElasticsearchParseException: Detected a corrupted repository

snapshot_missing_exception [REPOSITORY_NAME:SNAPSHOT_NAME/SNAPSHOT_UUID] is missing

java.nio.file.NoSuchFileException: REPOSITORY_PATH/data/shared/indices/INDEX_UUID/SHARD_ID/FILE_NAME

no_such_file_exception Blob object [FILE_NAME] not found: The specified key does not exist.
Refer to Repository contents for potential side effects of corruption of the repository contents.
The following steps outline how to resolve the corrupted repository status, but might be insufficient to resolve all errors depending on how corruption has occurred. To remedy the situation, mark the repository as read-only or remove it from all the other clusters, and re-add (recreate) the repository in the current cluster.
Fixing the corrupted repository requires making changes in multiple clusters that write to the same snapshot repository. Only one cluster must be writing to a repository. In these instructions, the cluster that continues writing to the repository is referred to as the "primary" cluster, and the other ones where we’ll mark the repository read-only as the "secondary" clusters.
First, mark the repository as read-only on the secondary clusters:
Go to Snapshot and Restore > Repositories. You can find the Snapshot and Restore management page using the navigation menu or the global search field.
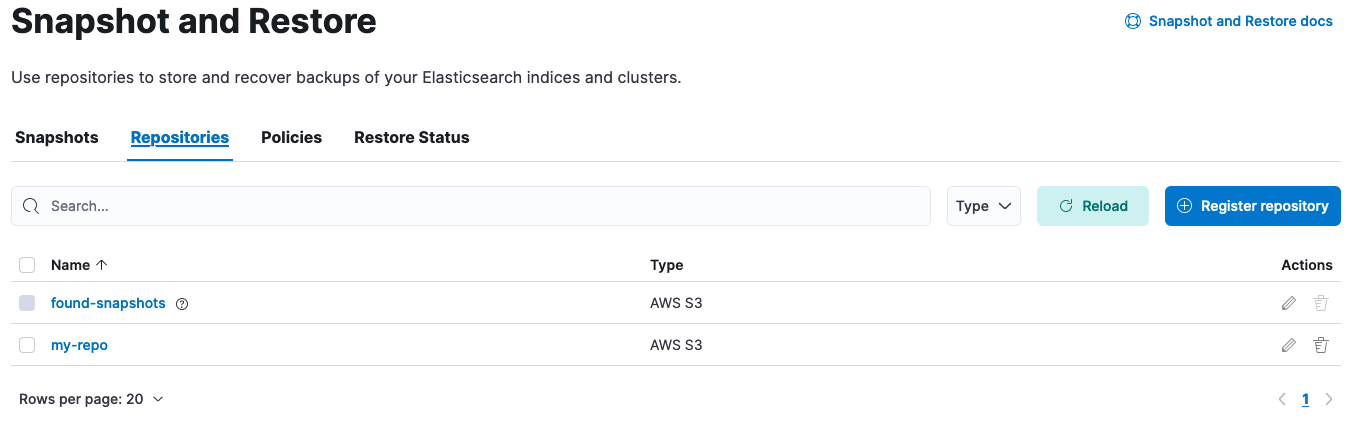
- The repositories table should now be visible. Click on the pencil icon at the right side of the repository to be marked as read-only. On the Edit page that opened scroll down and check "Read-only repository". Click "Save". Alternatively if disconnecting the repository altogether is preferable, select the checkbox at the left of the repository name in the repositories table and click the "Remove repository" red button at the top left of the table.
After you complete the previous steps, it’s only the primary (current) cluster that has the repository marked as writeable. Elasticsearch sees it as corrupt, so the repository needs to be removed and added back so that Elasticsearch can resume using it:
On the primary (current) clusteer:
Open the primary cluster's side navigation menu (placed under the Elastic logo in the upper left corner) and go to Snapshot and Restore > Repositories. You can find the Snapshot and Restore management page using the navigation menu or the global search field.
Click on the pencil icon at the right side of the repository. On the Edit page that opened scroll down and click "Save", without making any changes to the existing settings.
To verify results, click on the repository name. On the UI drawer that opened, click "Verify repository".
First, work on the secondary clusters:
Get the configuration of the repository using the Get snapshot repository information API:
GET _snapshot/my-repoThe response looks like this:
{ "my-repo": { "type": "s3", "settings": { "bucket": "repo-bucket", "client": "elastic-internal-71bcd3", "base_path": "myrepo" } } }- Represents the current configuration for the repository.
Using the settings retrieved above, add the
readonly: trueoption to mark it as read-only using the Update snapshot repository API:PUT _snapshot/my-repo{ "type": "s3", "settings": { "bucket": "repo-bucket", "client": "elastic-internal-71bcd3", "base_path": "myrepo", "readonly": true } }- Marks the repository as read-only.
Alternatively, disconnect the repository is an option using Delete snapshot repositories API:
DELETE _snapshot/my-repoThe response looks like this:
{
  "acknowledged": true
}
After you complete the previous steps, it’s only the primary (current) cluster that has the repository marked as writeable. Elasticsearch sees it as corrupt though so let’s recreate it so that Elasticsearch can resume using it.
On the primary (current) cluster:
Get the configuration of the repository and save its configuration as we’ll use it to recreate the repository:
GET _snapshot/my-repoUsing the configuration we obtained above, let’s recreate the repository:
PUT _snapshot/my-repo{ "type": "s3", "settings": { "bucket": "repo-bucket", "client": "elastic-internal-71bcd3", "base_path": "myrepo" } }The response looks like this:
{
  "acknowledged": true
}
To verify results, use the Verify a snapshot repository API:
POST _snapshot/my-repo/_verify
If the repository is still marked as corrupted or broken after applying these fixes, then contact Elastic for assistance.