Monitor Amazon Simple Queue Service (SQS)
Amazon Simple Queue Service (SQS) is a message queuing service that allows your application components to communicate asynchronously through messages, making it easier to decouple and scale microservices, distributed systems, and serverless applications.
AWS SQS and Amazon CloudWatch are integrated and therefore, you can collect, view, and analyze data. Metrics for Amazon SQS queues are automatically collected and pushed to CloudWatch at one-minute intervals.
You can view and analyze the queue’s metrics from the Amazon SQS console, the CloudWatch console, the AWS CLI, or by using the CloudWatch API.
The Elastic Amazon SQS integration collects metrics from Amazon CloudWatch using Elastic Agent.
To collect SQS metrics, you typically need to install the Elastic Amazon SQS integration and deploy an Elastic Agent locally or on an EC2 instance.
Expand the quick guide to learn how, or skip to the next section if your data is already in Elasticsearch.
Quick guide: Add data
Find Integrations in the navigation menu or use the global search field.
Search for and select Amazon SQS.
If the integration's Overview page opens, click Add Amazon SQS.
If the Ready to add your first integration? page opens, click Add integration only (skip agent installation).
Configure the integration name and optionally add a description.
Choose where to add the integration policy.
- If Elastic Agent is not already deployed locally or on an EC2 instance, click New hosts and enter a name for the new agent policy.
- Otherwise, click Existing hosts and select an existing agent policy.
Click Save and continue. This step takes a minute or two to complete. When it’s done, you’ll have an agent policy that contains an integration policy for the configuration you just specified. If an Elastic Agent is already assigned to the policy, you’re done. Otherwise, you need to deploy an Elastic Agent.
To deploy an Elastic Agent:
- In the popup, click Add Elastic Agent to your hosts to open the Add agent flyout. If you accidentally close the popup or the flyout doesn’t open, go to Fleet → Agents, then click Add agent to access the flyout.
- Follow the steps in the Add agent flyout to download, install, and enroll the Elastic Agent.
When incoming data is confirmed—after a minute or two—click View assets to access the dashboards.
For more information Elastic Agent and integrations, refer to the Fleet and Elastic Agent documentation.
Elastic Agent is currently the preferred way to add SQS metrics. For other ways, refer to Adding data to Elasticsearch.
For example, to see an overview of your SQS metrics in Kibana, go to the Dashboard app and navigate to the [Metrics AWS] SQS Overview dashboard.
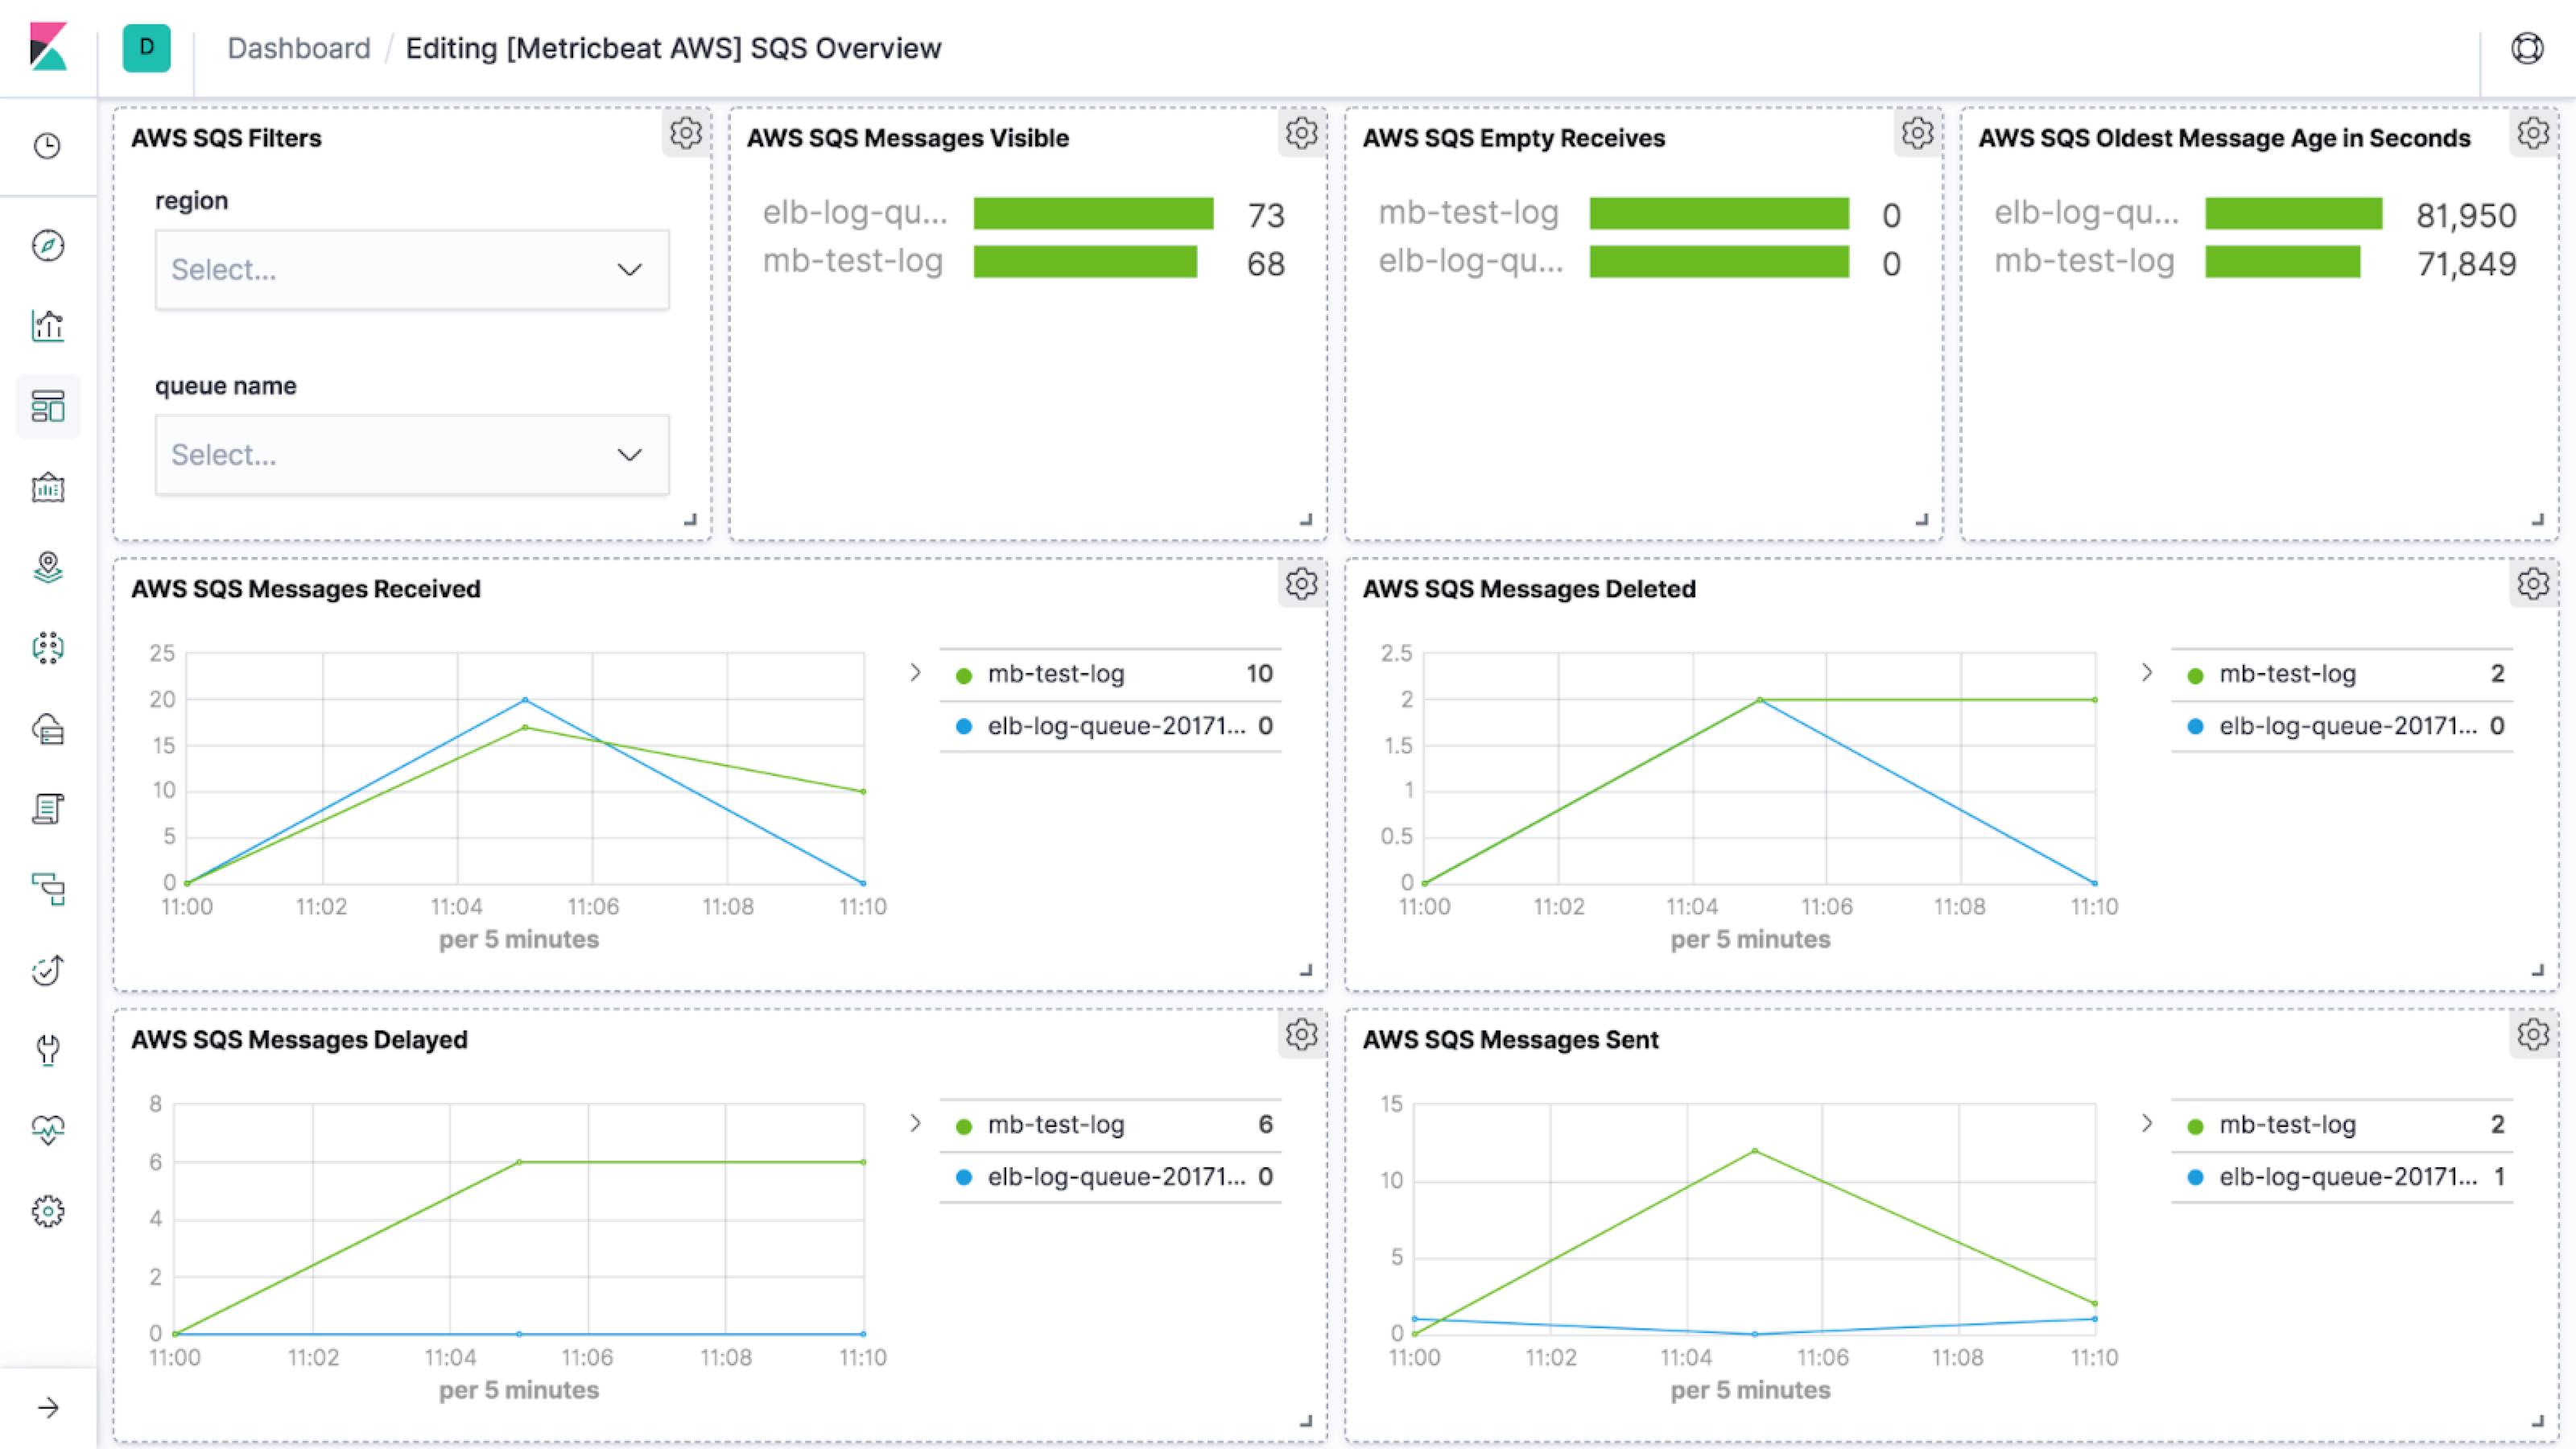
Here are the key metrics that you should watch, organized by category. For a full list of fields exported by the integration, refer to the Amazon SQS integration docs.
messages
aws.sqs.messages.delayedaws.sqs.messages.not_visibleaws.sqs.messages.visibleaws.sqs.messages.deletedaws.sqs.messages.receivedaws.sqs.messages.sentaws.sqs.oldest_message_age.secaws.sqs.sent_message_size.bytes
queue
aws.sqs.queue.name