Create a data view
Create a data view to make your own Elasticsearch data available in Discover, Lens, and other analytics features. You can save it for the space, or use it without saving:
- Create the data view: Save it so others in the space can use it.
- Create a temporary data view: Select Use without saving in Discover or Lens. It isn't visible to others, and it lasts until you change apps or save it.
- You need a role with the Data View Management Kibana privilege and the
view_index_metadataElasticsearch privilege. Refer to Defining roles. - If a Read only badge appears, you don't have sufficient privileges to create or save data views.
- You need data already indexed into Elasticsearch. Some workflows create a data view for you automatically instead. Refer to How data views are created.
Open the create form:
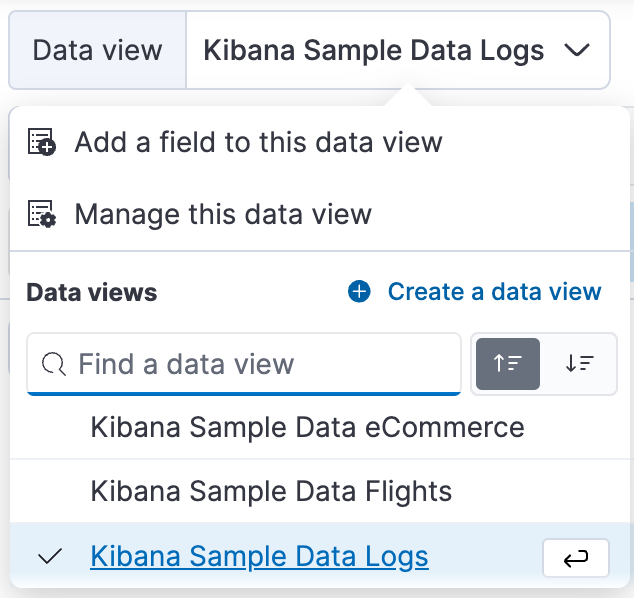
- In Discover or Lens, open the data view menu, then select Create a data view.
- Go to the Data Views management page using the navigation menu or the global search field, then select Create data view.
In the Name field, enter a name for the data view.
In the Index pattern field, enter a pattern. Kibana looks for the names of indices, data streams, and aliases that match your input. You can view all available sources or only the sources that the data view targets.
If you have a high number of matching sources, not all of them might show:
-
The preview can show up to 10,000 sources. -
The preview can show up to 100 sources.
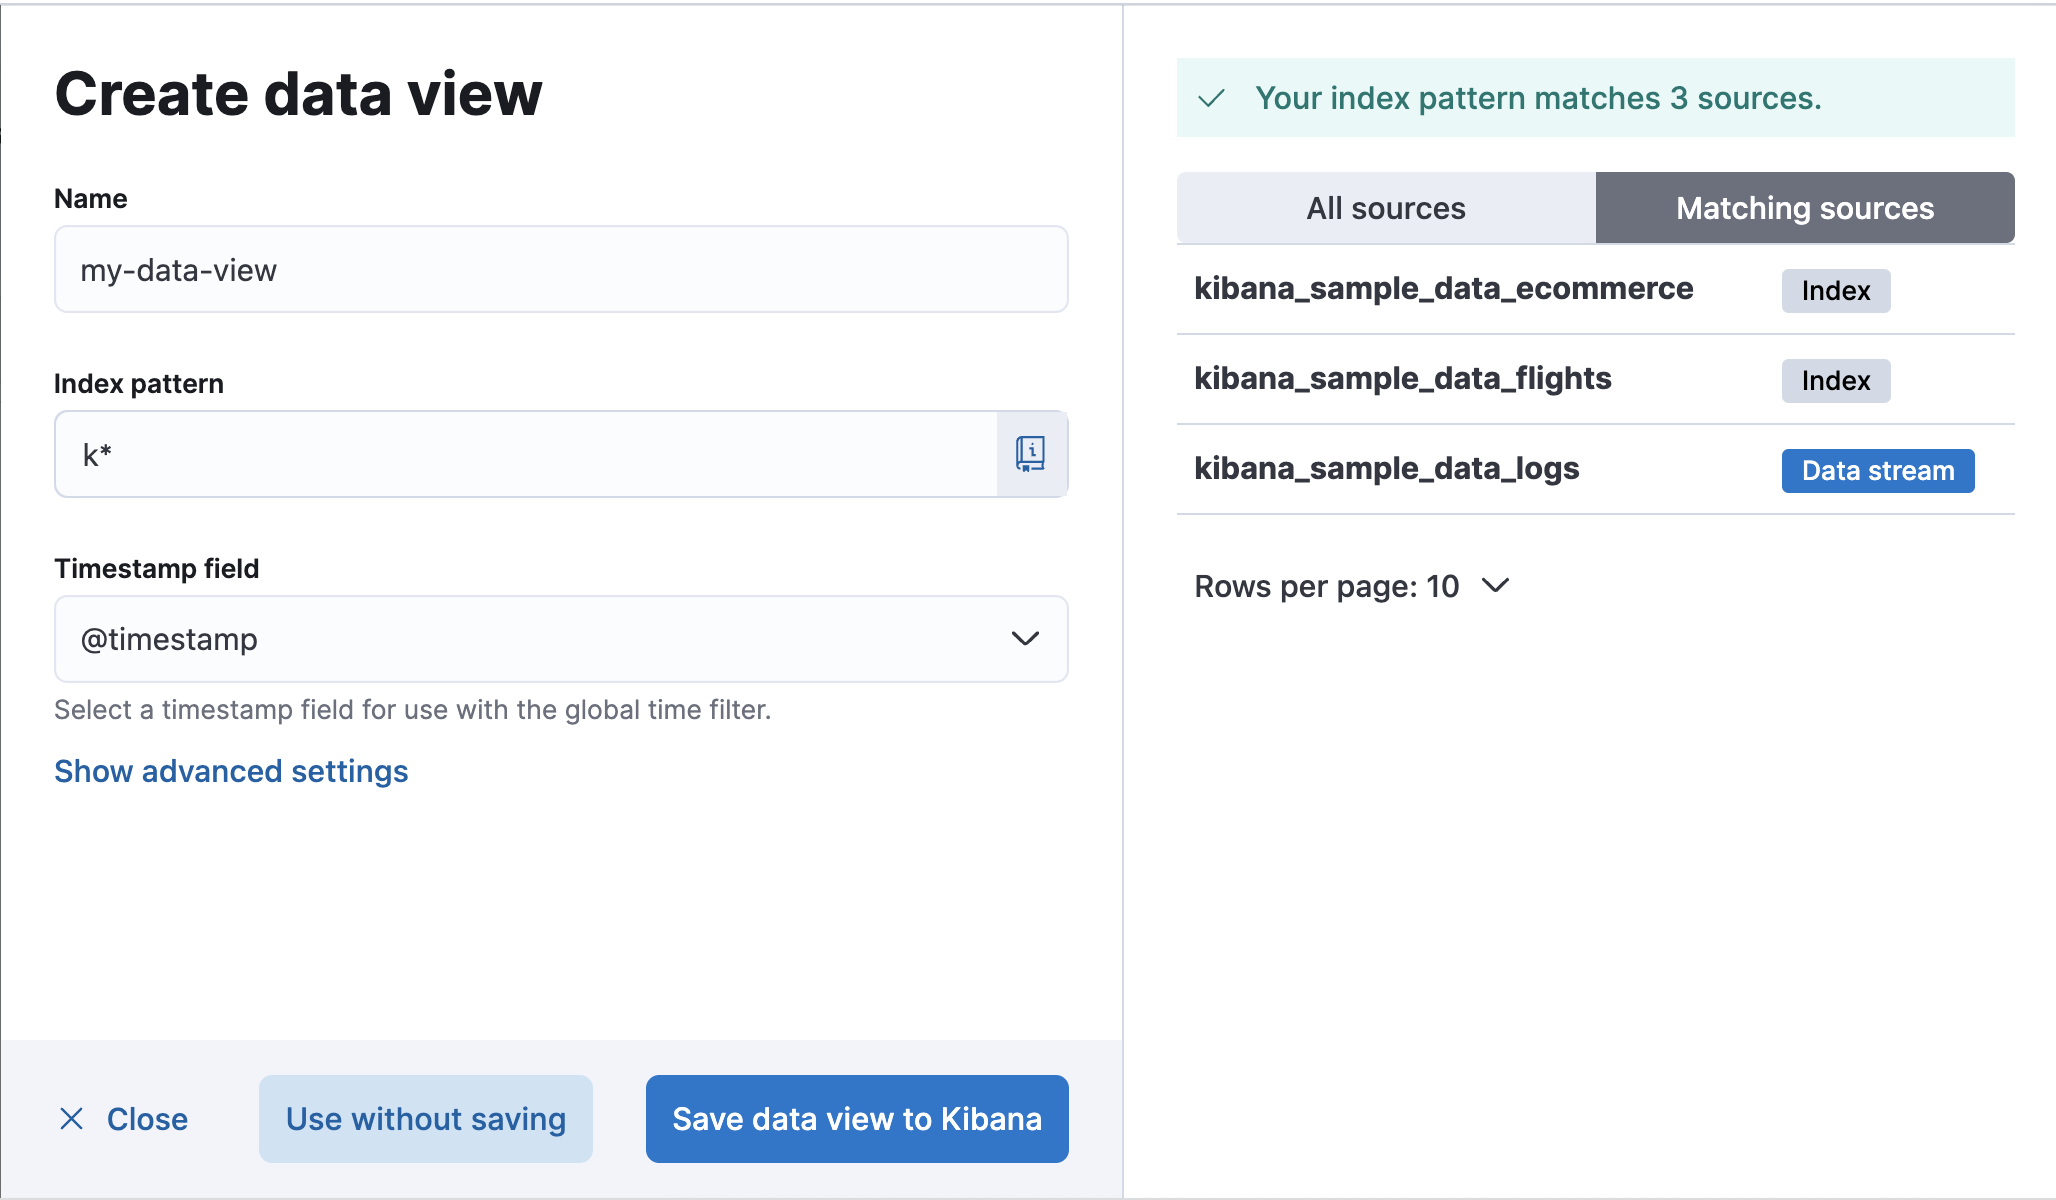
- To match multiple sources, use a wildcard (
*).filebeat-*matchesfilebeat-apache-a,filebeat-apache-b, and so on. - To match several individual sources, enter their names, separated by a comma, with no space after the comma.
filebeat-a,filebeat-bmatches two indices. - To exclude a source, use a minus sign (
-), for example-test3.
For data in another cluster, another project, or a rollup index, refer to What the index pattern matches.
-
Open the Timestamp field menu, then select the default field for filtering your data by time.
- If you don't set a default time field, you can't use global time filters on your dashboards. Skip a default time field when you have multiple time fields and want to combine visualizations that use different timestamps.
- If your index doesn't have time-based data, select I don't want to use the time filter.
Select Show advanced settings to:
- Allow hidden and system indices.
- Set a Custom data view ID. By default, Kibana assigns a randomly generated ID to the data view saved object. A custom, human-readable ID (for example,
logs-prod) makes the data view easier to recreate with the same ID across spaces, deployments, or environments. Dashboards and visualizations that reference that ID keep working. Refer to Manage dashboards as code.
You can now select your new data view from the data view menu in Discover, Lens, and other analytics features. Manage it from the Data Views management page.
The Index pattern field tells the data view which names to query. What you enter depends on where the data lives:
- Data in this cluster or project: Wildcards, comma-separated names, or a minus sign to exclude
- Data in another cluster: Use
cluster:indexsyntax for cross-cluster search - Data in another project: Qualified expressions for cross-project search
- Rolled-up data: One rollup index, or rollup and raw data together
- To match multiple sources, use a wildcard (
*).filebeat-*matchesfilebeat-apache-a,filebeat-apache-b, and so on. - To match several individual sources, enter their names, separated by a comma, with no space after the comma.
filebeat-a,filebeat-bmatches two indices. - To exclude a source, use a minus sign (
-), for example-test3.
If your Elasticsearch clusters are configured for cross-cluster search, you can create a data view to search across the clusters of your choosing. Specify data streams, indices, and aliases in a remote cluster using the following syntax:
<remote_cluster_name>:<target>
To query Logstash indices across two Elasticsearch clusters that you set up for cross-cluster search, named cluster_one and cluster_two:
cluster_one:logstash-*,cluster_two:logstash-*
Use wildcards in your cluster names to match any number of clusters. To search Logstash indices across clusters named cluster_foo, cluster_bar, and so on:
cluster_*:logstash-*
To query across all Elasticsearch clusters that have been configured for cross-cluster search, use a standalone wildcard for your cluster name:
*:logstash-*
To match indices starting with logstash-, but exclude those starting with logstash-old, from all clusters having a name starting with cluster_:
cluster_*:logstash-*,cluster_*:-logstash-old*
Excluding a cluster avoids sending any network calls to that cluster. To exclude a cluster with the name cluster_one:
cluster_*:logstash-*,-cluster_one:*
After you configure a data view to use the cross-cluster search syntax, all searches and aggregations using that data view in Kibana take advantage of cross-cluster search.
For more information, refer to Excluding clusters or indices from cross-cluster search.
After you link projects, the data view creation form previews matching indices from those projects based on the current cross-project search scope. The data view itself doesn't store the scope. When you query the data view, results come from whichever linked projects the active cross-project search scope includes at that time.
To restrict a data view to specific projects regardless of the active scope, you can:
- Use qualified expressions in the index pattern to target specific projects, for example
project_alpha:logs-*,project_beta:logs-*. To search only the origin project, use_origin:logs-*. - Use project routing in your queries to narrow scope at query time.
Rollups are deprecated. Use downsampling instead.
A data view can match one rollup index. For a combination rollup data view with both raw and rolled up data, use the standard notation:
rollup_logstash,kibana_sample_data_logs
For an example, refer to Create and visualize rolled up data.
To explore data or build a visualization without saving a data view, select Use without saving in the Create data view form in Discover or Lens. With a temporary data view, you can add fields and create an Elasticsearch query alert, the same way you would with a saved data view. Your work isn't visible to others in your space.
A temporary data view remains in your space until you change apps, or until you save it.
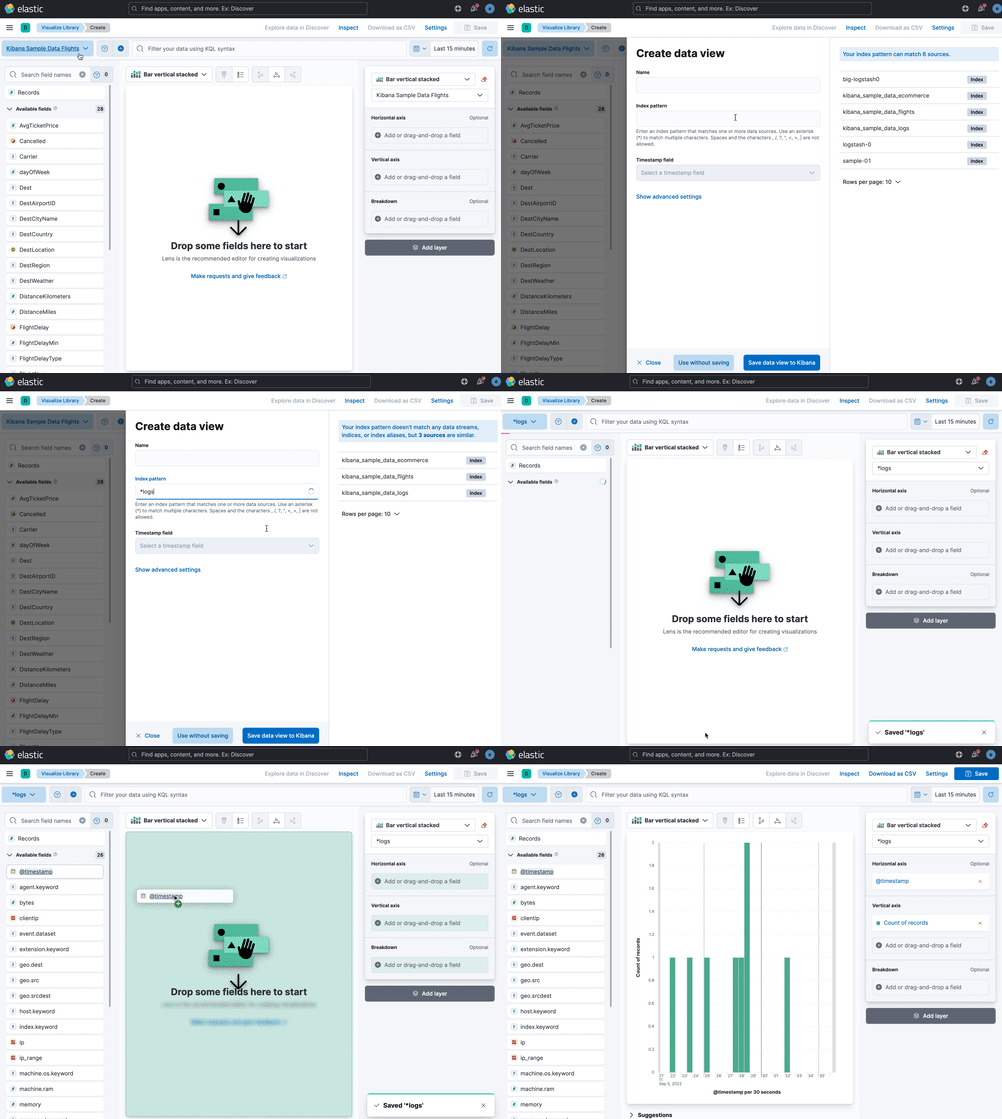
Temporary data views aren't available on the Data Views management page. Use without saving appears only in Discover and Lens.