Getting started
This page guides you through the installation process of the Ruby client, shows you how to instantiate the client, and how to perform basic Elasticsearch operations with it.
A currently maintained version of Ruby (3.0+) or JRuby (9.3+).
To install the latest version of the client, run the following command:
gem install elasticsearch
Refer to the Installation page to learn more.
You can connect to the Elastic Cloud using an API key and the Elasticsearch endpoint.
client = Elasticsearch::Client.new(
cloud_id: '<CloudID>',
api_key: '<ApiKey>'
)
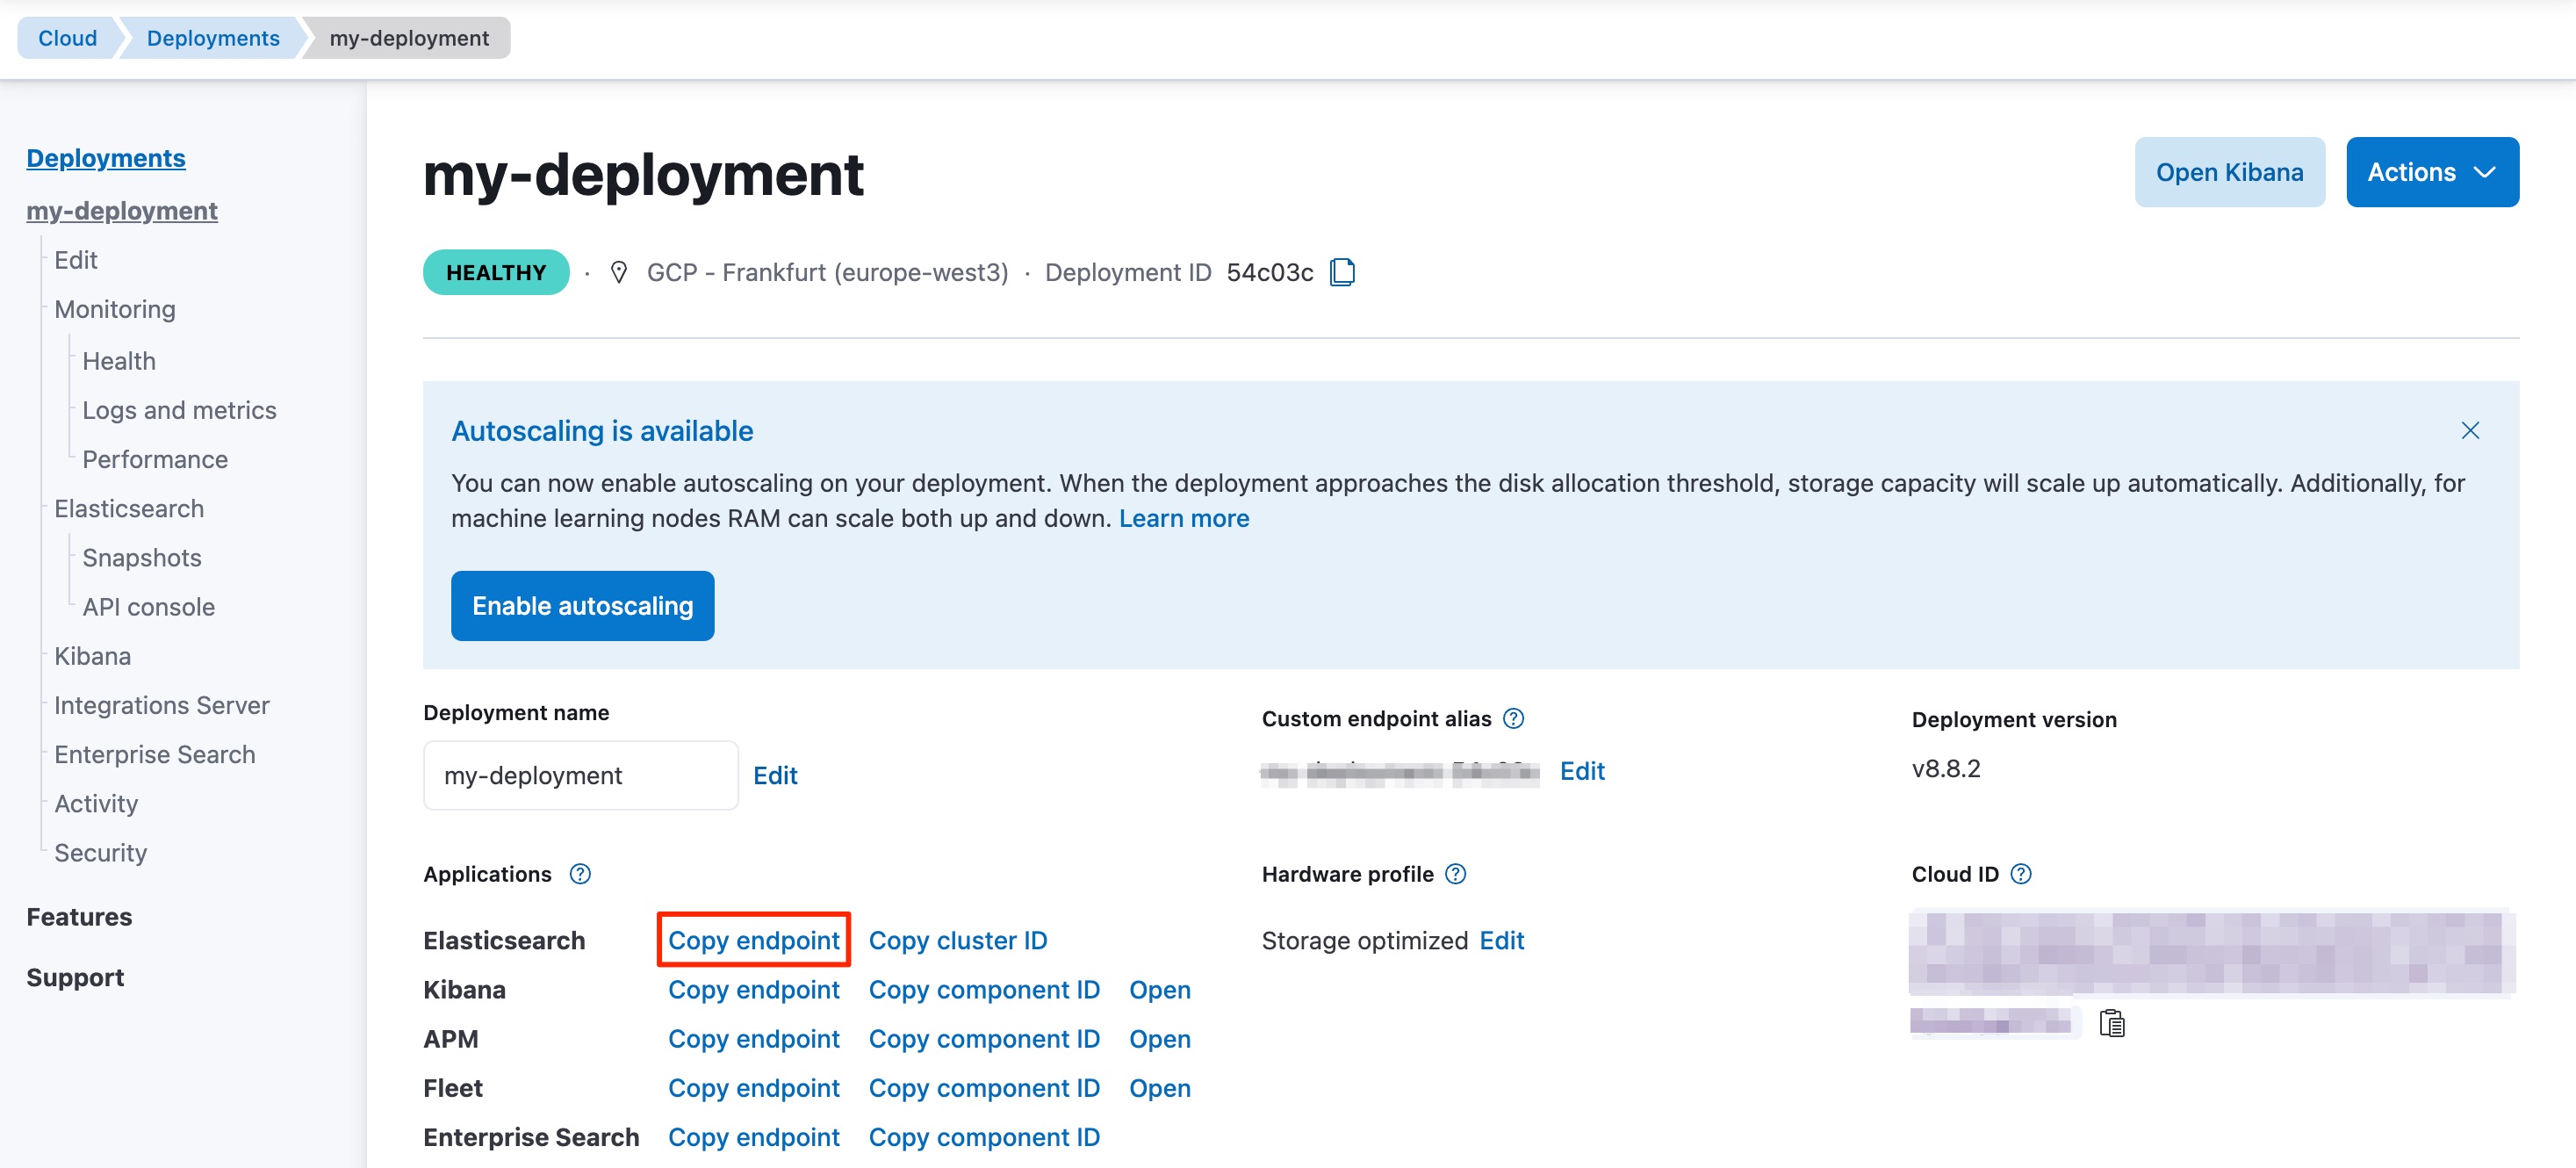
Your Elasticsearch endpoint can be found on the My deployment page of your deployment:
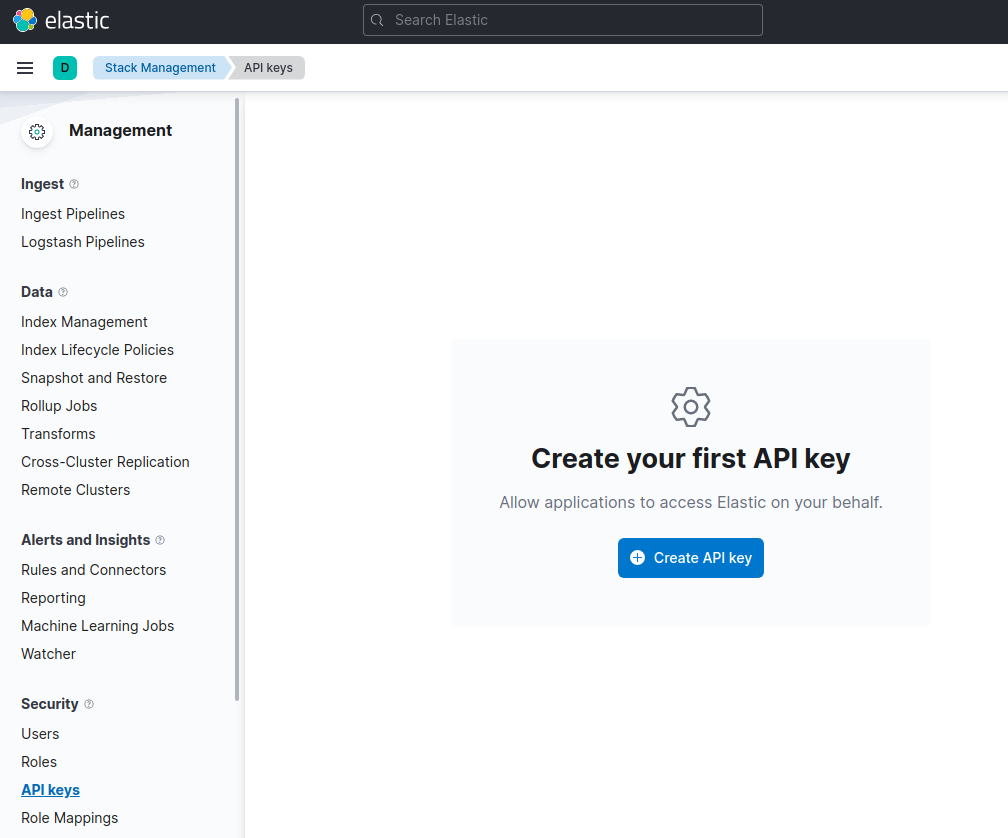
You can generate an API key on the Management page under Security.
For other connection options, refer to the Connecting section.
Time to use Elasticsearch! This section walks you through the basic, and most important, operations of Elasticsearch. For more operations and more advanced examples, refer to the Examples page.
This is how you create the my_index index:
client.indices.create(index: 'my_index')
This is a simple way of indexing a document:
document = { name: 'elasticsearch-ruby' }
response = client.index(index: 'my_index', body: document)
# You can get the indexed document id with:
response['_id']
=> "PlgIDYkBWS9Ngdx5IMy-"
id = response['_id']
You can get documents by using the following code:
client.get(index: 'my_index', id: id)
This is how you can create a single match query with the Ruby client:
client.search(index: 'my_index', body: { query: { match_all: {} } })
This is how you can update a document, for example to add a new field:
client.update(index: 'my_index', id: id, body: { doc: { language: 'Ruby' } })
client.delete(index: 'my_index', id: id)
client.indices.delete(index: 'my_index')
- Use Bulk and Scroll helpers for a more confortable experience with the APIs.